在上篇文章中我们介绍了在阿里云上进行Elasticsearch的安装和运行,下面我们接着进行简单的操作。
首先我们先要了解一下Elasticsearch中访问数据的模式。为了能够快速的学习Elasticsearch,我们需要记住这个模式。这个模式可以总结为以下形式:<REST Verb> /<Index>/<Type>/<ID>。
创建一个索引
curl -XPUT 'localhost:9200/god?pretty&pretty'
返回:
    {
        "acknowledged" : true,
        "shards_acknowledged" : true,
        "index" : "god"
    }
查看索引
curl -XGET 'localhost:9200/_cat/indices?v&pretty'
返回:
   health status index    uuid                   pri rep docs.count docs.deleted store.size pri.store.size

   yellow open   god      Nw4tzWBUTTOPLgKig5wpjw   5   1          0            0      1.1kb          1.1kb
删除索引
curl -XDELETE 'localhost:9200/god?pretty&pretty'
返回:
    {
        "acknowledged" : true
    }
文档查询
首先我们在上面新建的god的索引中进行添加
curl -XPUT 'localhost:9200/god/doc/1?pretty&pretty' -H 'Content-Type: application/json' -d '{"name": "Tom"}'
返回:
    {
        "_index" : "god",
        "_type" : "doc",
        "_id" : "1",
        "_version" : 1,
        "result" : "created",
        "_shards" : {
                        "total" : 2,
                        "successful" : 1,
                        "failed" : 0
                    },
        "_seq_no" : 0,
        "_primary_term" : 1
    }
查询:curl -XGET 'localhost:9200/god/doc/1?pretty&pretty'
返回:
    {
        "_index" : "god",
        "_type" : "doc",
        "_id" : "1",
        "_version" : 1,
        "found" : true,
        "_source" : {
                        "name" : "Tom"
                    }
    }
首先我们在上面新建的god的索引中进行添加此处由于我们指定了id,所以在查询结果中的id是确定的,假如我们没有指定id,在存储的过程中系统会随机为我们的数据生成一个id,但是当未指定id的时候,需要使用POST代替PUT请求。
文档更新
curl -XPOST 'localhost:9200/god/doc/1/_update?pretty&pretty' -H 'Content-Type:application/json' -d '{"doc":{"name":"Tom to Tom2", "age":18}}'
返回:
    {
        "_index" : "god",
        "_type" : "doc",
        "_id" : "1",
        "_version" : 2,
        "result" : "updated",
        "_shards" : {
                        "total" : 2,
                        "successful" : 1,
                        "failed" : 0
                    },
        "_seq_no" : 1,
        "_primary_term" : 2
    }
有时候为了简便操作,也可以使用脚本进行更新,例如把年龄+10。(ctx._source指代的是当前需要被更新的source文档。)
curl -XPOST 'localhost:9200/god/doc/1/_update?pretty&pretty' -H 'Content-Type:application/json' -d '{"script":"ctx._source.age += 10"}'
返回:
    {
        "_index" : "god",
        "_type" : "doc",
        "_id" : "1",
        "_version" : 3,
        "found" : true,
        "_source" : {
                        "name" : "Tom to Tom2",
                        "age" : 28
                    }

    }
文档删除
curl -XDELETE 'localhost:9200/customer/doc/2?pretty&pretty'
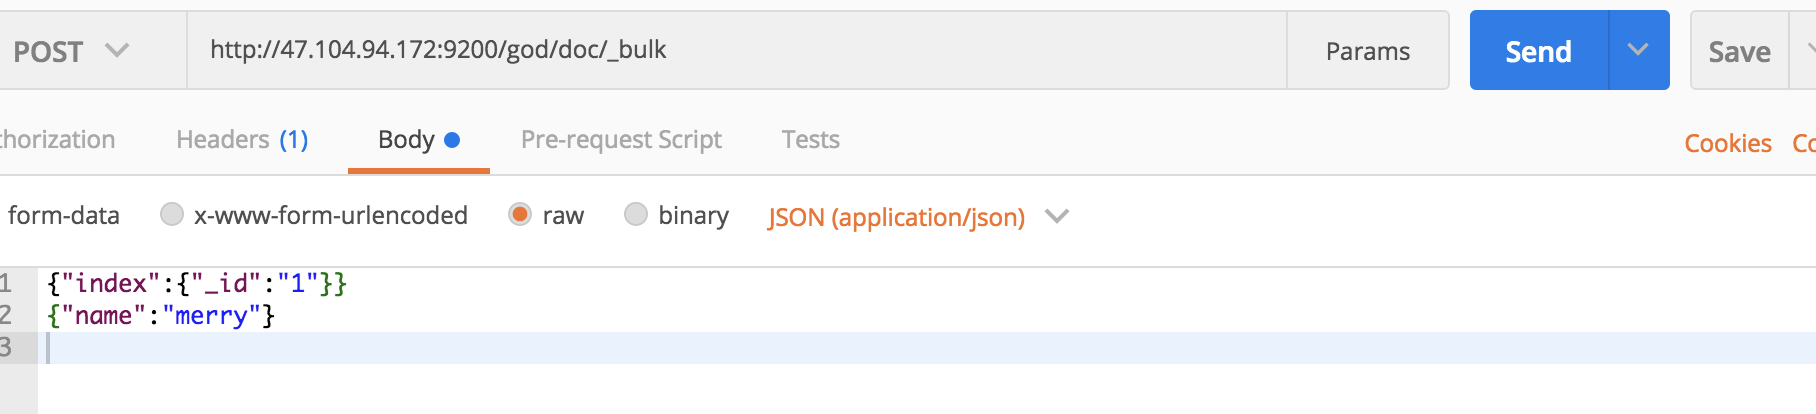
批量处理
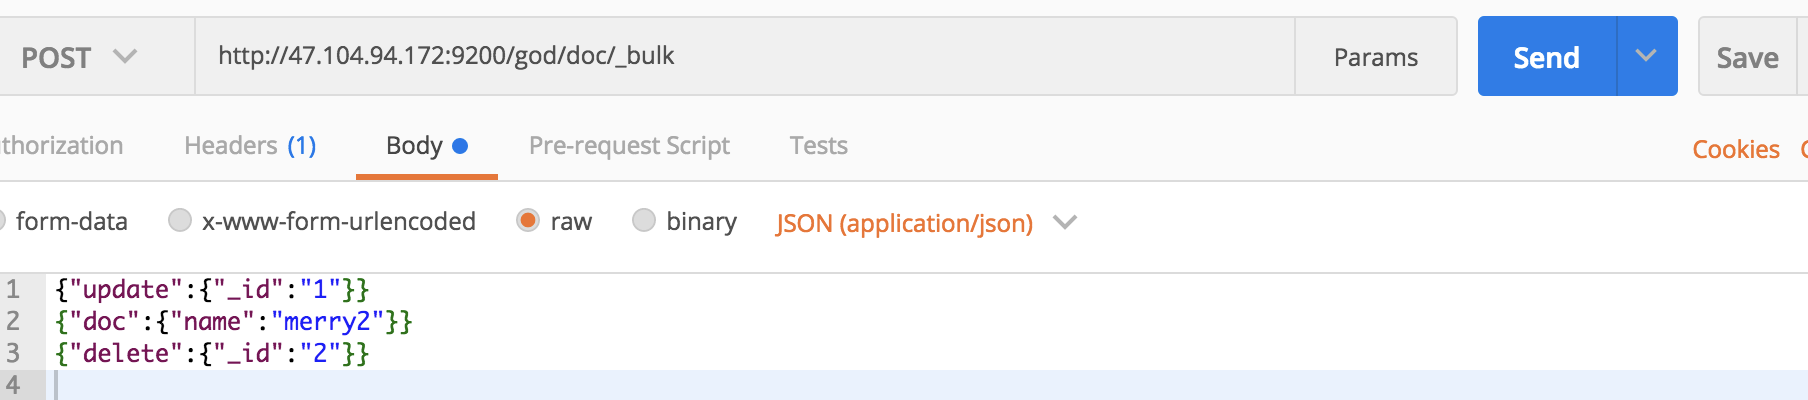
通过使用_bulk API来完成批处理。为了简便我们使用postman来调用es。

也可以使用curl来调用

另外,我们在做一个更新id=1删除id=2的操作,具体操作如下:
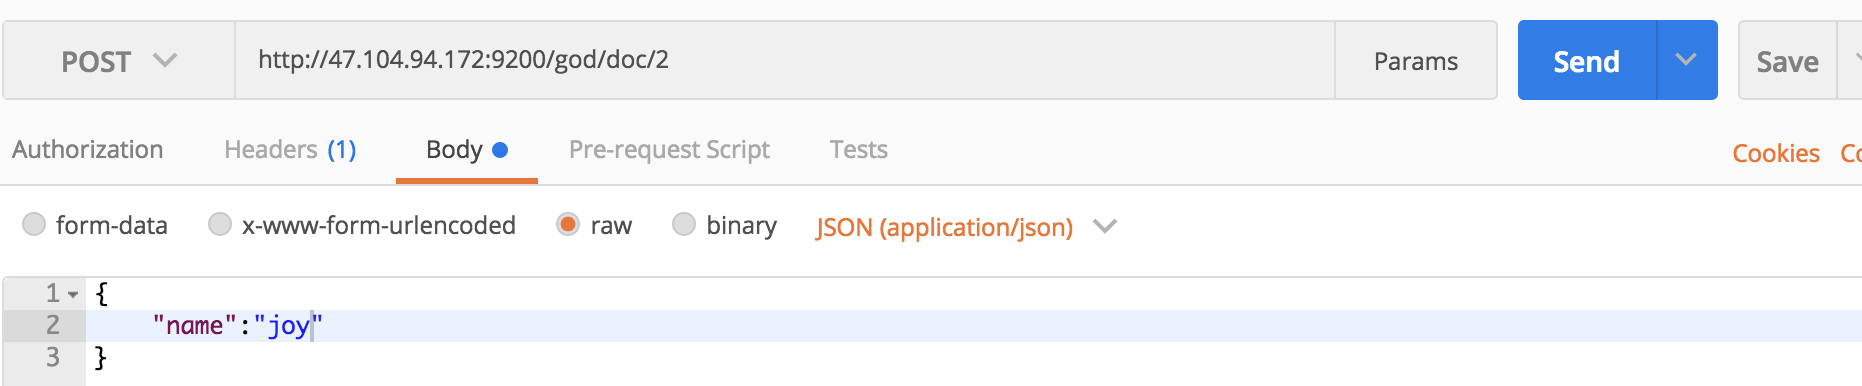
首先我们先创建id=2的文档
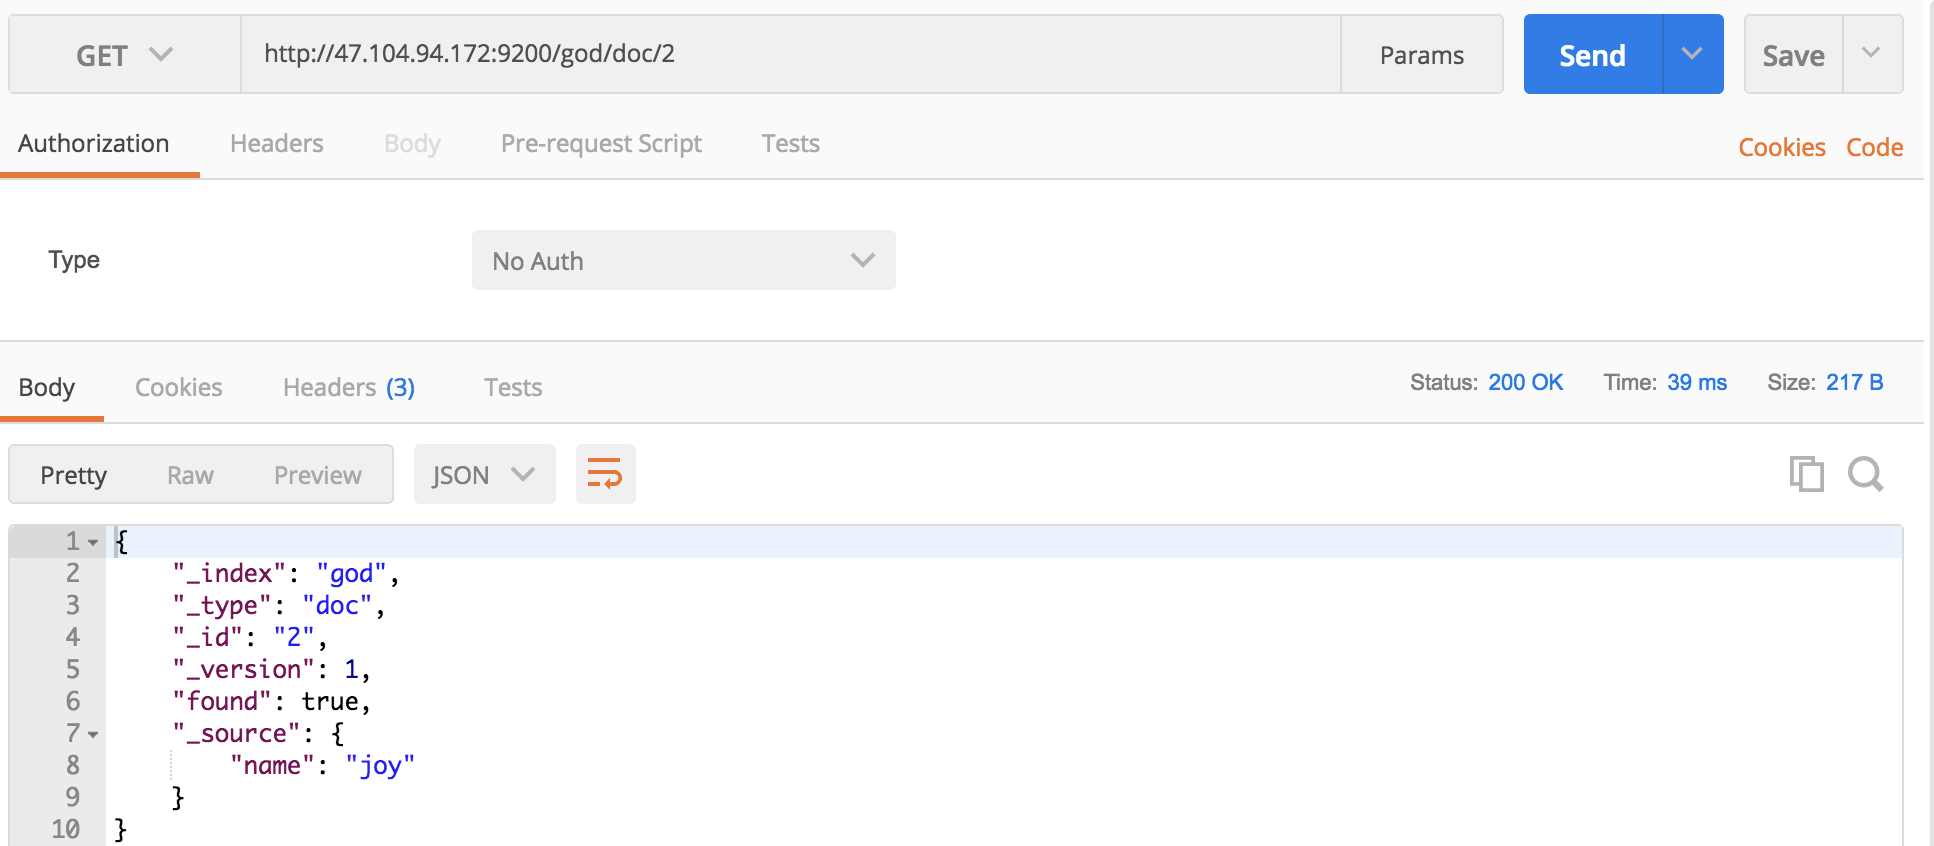
查询一下2的内容
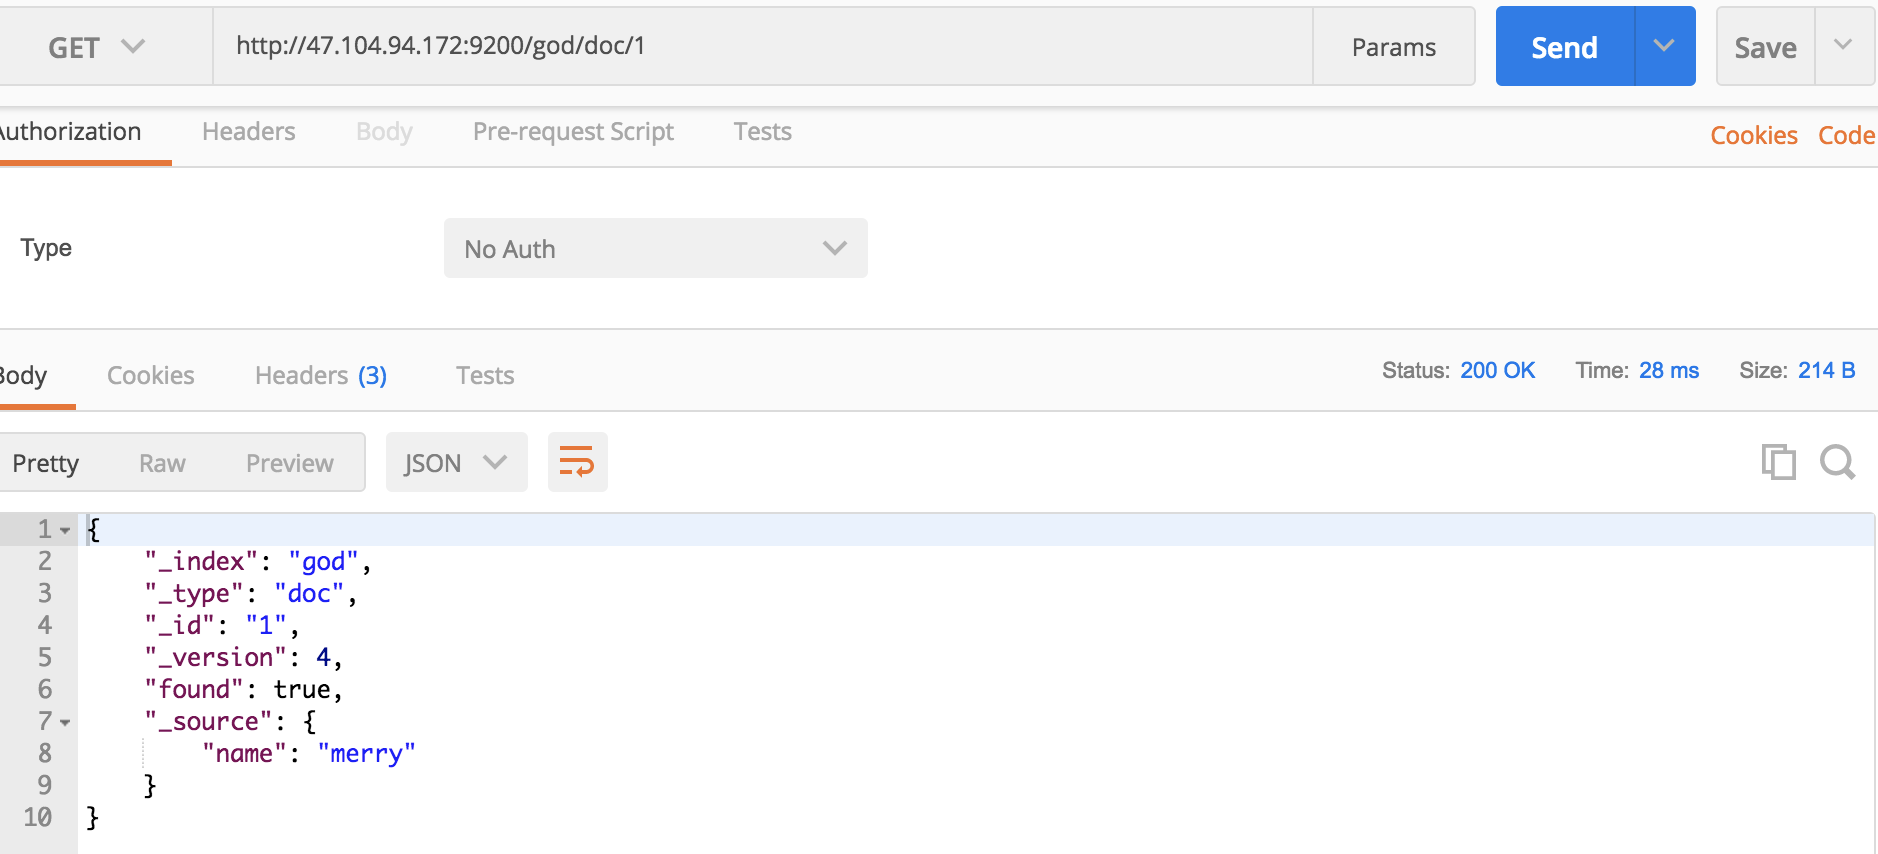
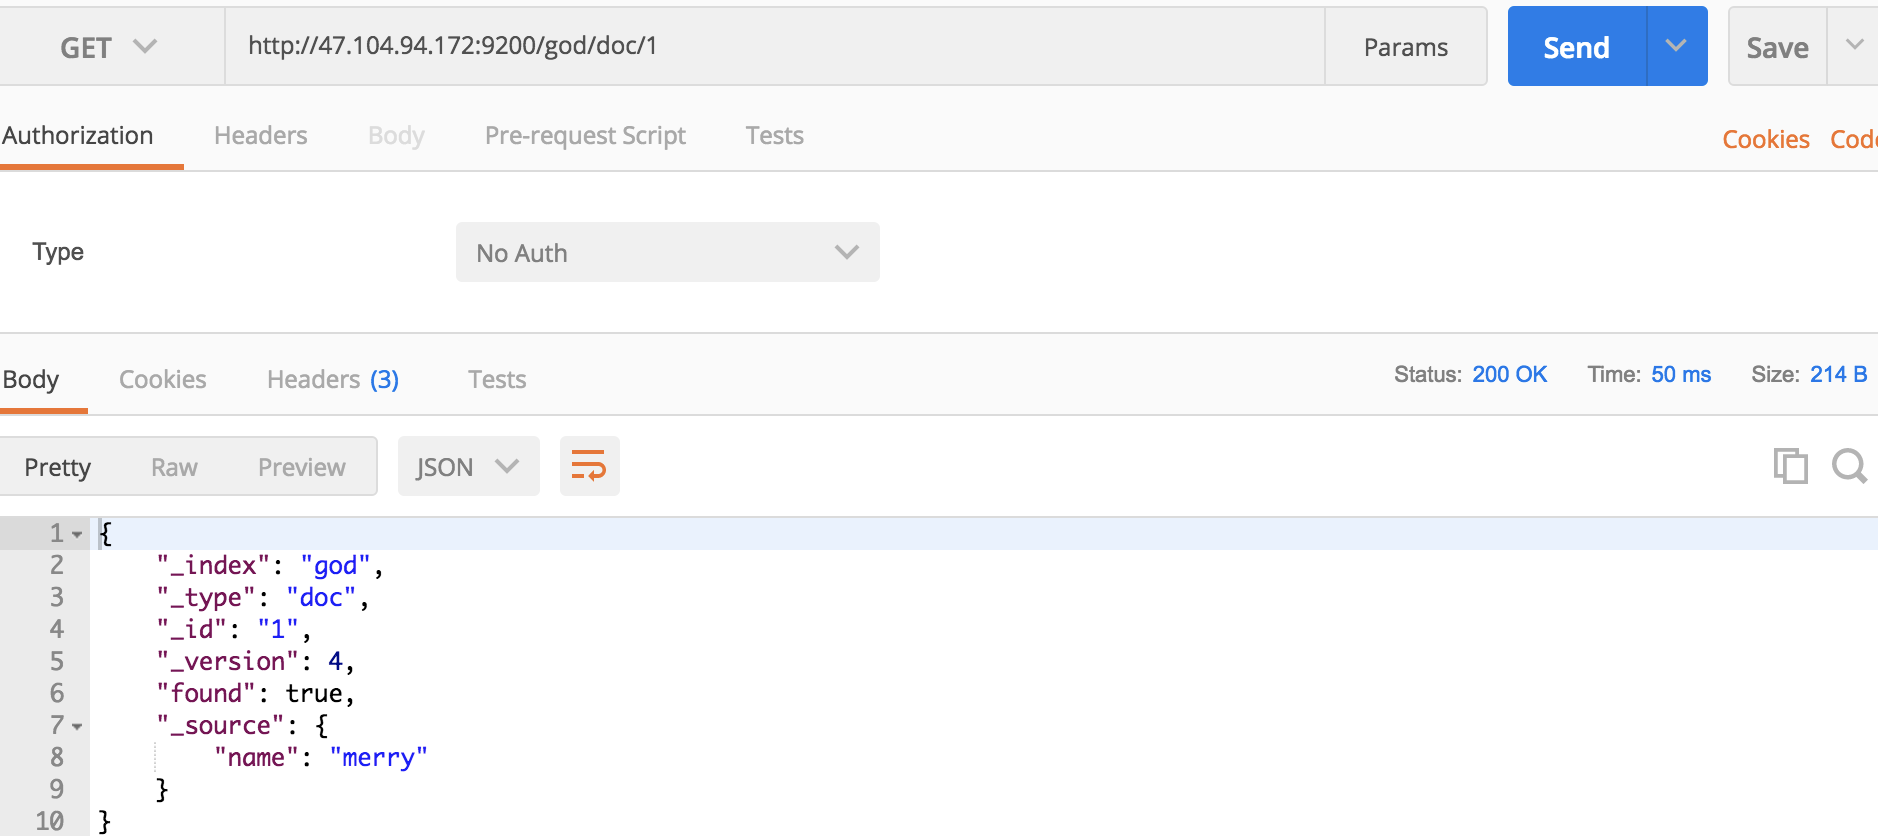
之前,id=1的文档
更新1删除2
 返回结果:
返回结果:
{"took":18,"errors":false,"items":[{"update":{"_index":"god","_type":"doc","_id":"1","_version":5,"result":"updated","_shards":{"total":2,"successful":1,"failed":0},"_seq_no":4,"_primary_term":3,"status":200}},{"delete":{"_index":"god","_type":"doc","_id":"2","_version":2,"result":"deleted","_shards":{"total":2,"successful":1,"failed":0},"_seq_no":1,"_primary_term":3,"status":200}}]}